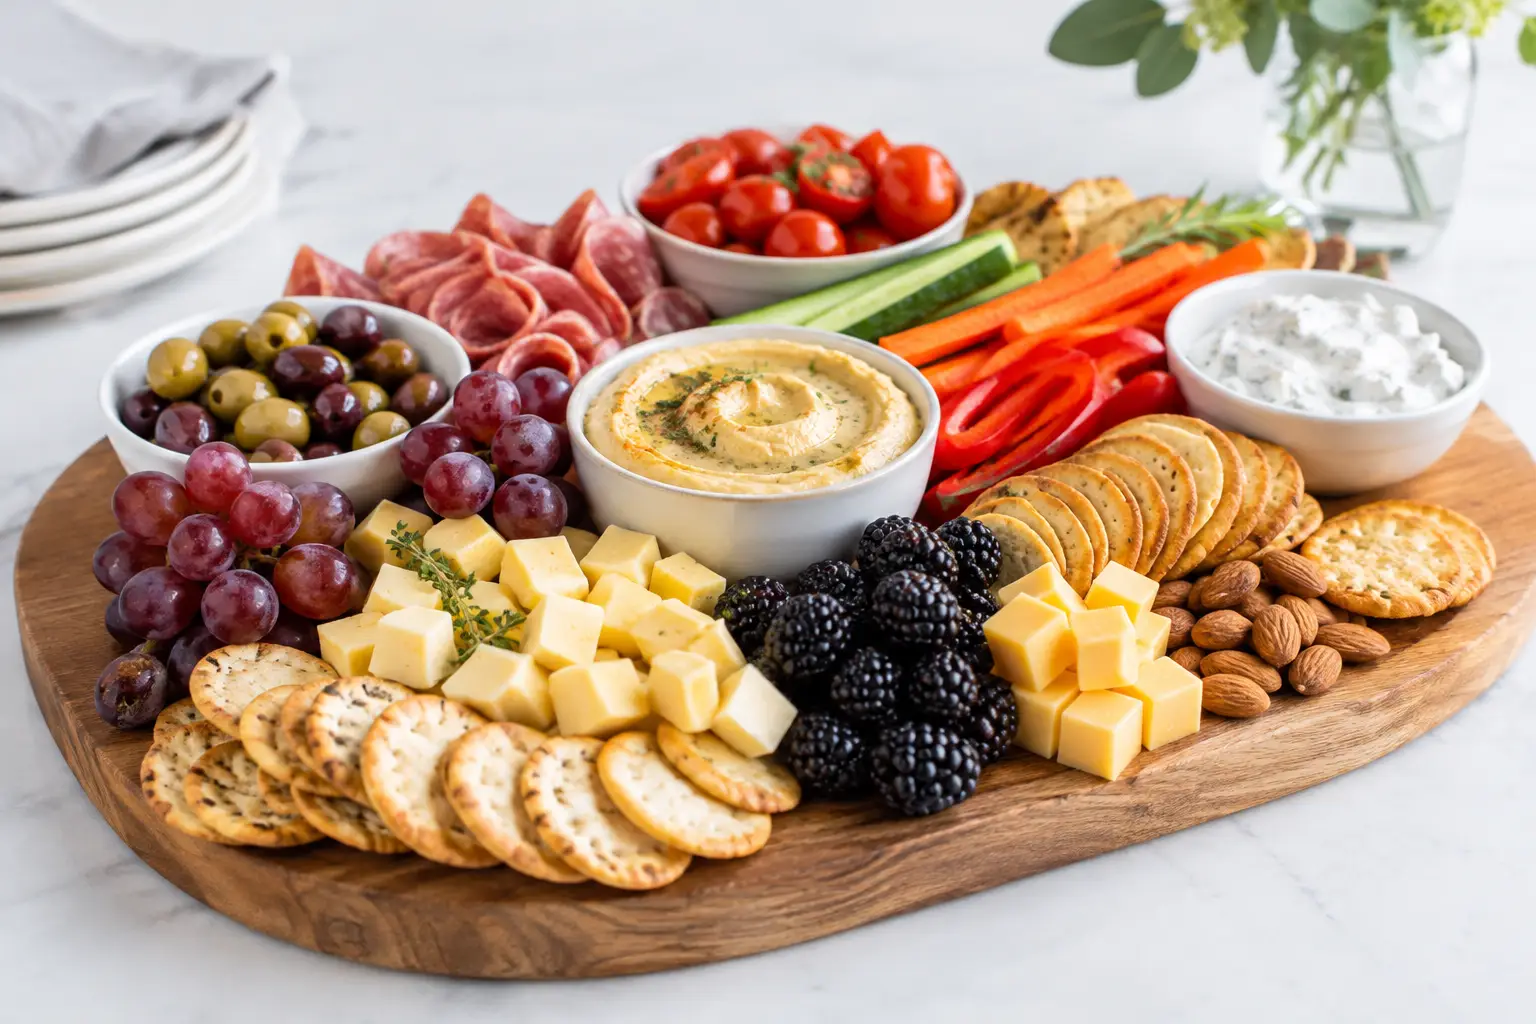
The first thing guests notice at a gathering is often the table, not the menu. A well-arranged appetizer platter makes people want to gather, nibble, and stay awhile – even when the ingredients are simple. Learning how to arrange appetizer platters is less about creating a picture-perfect spread and more about making good food feel inviting, easy to share, and a little special.
Before choosing cheeses or slicing fruit, think about the occasion. A movie night for four needs a different approach than a birthday brunch or a holiday open house. The platter should suit the number of people, the time of day, and whether it is meant to be a light snack or a stand-in for dinner.
For a smaller gathering, one generous board or tray is usually enough. Choose a medium serving platter with a raised edge, then keep the selection focused: two cheeses, one cured meat, crackers, fruit, and something briny. For a larger party, skip the temptation to crowd everything onto one oversized board. Two or three smaller platters placed around the room keep guests moving and prevent a traffic jam near the food.
A useful rule of thumb is to offer about three to five appetizer bites per person when dinner follows soon after. If appetizers are the main event, plan for eight to 12 bites per guest and include a more substantial option, such as mini sandwiches, skewers, stuffed mushrooms, or a hearty dip.
Your serving piece sets the tone, but it also has a practical job. A wood board feels relaxed and warm, while a ceramic platter brings a cleaner, more polished look to brunches and celebrations. A large rimmed tray is especially useful for saucy items, olives, or chilled foods that may release moisture.
Think about contrast. Pale crackers and creamy cheeses stand out beautifully on a darker board, while colorful vegetables, berries, and herbs pop against white ceramic. If your platter is patterned or highly decorative, keep the food arrangement simple so it does not compete for attention.
The best appetizer platters give every guest an easy choice. You do not need a huge assortment, but you do want a mix of textures and flavors: creamy, crisp, salty, sweet, fresh, and tangy. That balance makes even a modest spread feel thoughtful.
Start with a simple five-part formula:
This is a flexible formula, not a strict shopping list. For example, a Mediterranean-inspired platter might include hummus, pita, cucumber, olives, feta, and roasted red peppers. A cozy fall version could feature sharp cheddar, apple slices, spiced nuts, fig jam, and crackers. The goal is to create combinations guests can assemble without needing instructions.
Keep dietary needs in mind from the beginning. If you are serving vegetarian guests, make sure the meat-free choices are not limited to a few lonely carrots. For gluten-free guests, place gluten-free crackers in their own small bowl or on a separate corner of the board. Small serving spoons and tongs help keep dips and shared items easier to enjoy for everyone.
Once you have your ingredients, resist the urge to place them in straight lines. Platters look fuller and more abundant when foods are arranged in loose clusters. Begin with the largest items, then fill in the open spaces with smaller bites.
Place small bowls of dip, olives, jam, or nuts on the platter first. These act as anchors and create natural sections. Put bowls slightly off-center rather than lining them up in the middle, which can make the layout look stiff.
Next, add larger ingredients. Cheese wedges, a bowl of dip, folded slices of cured meat, or a small stack of toast points should take up visible space early. If you are using soft cheese, serve it whole with a small knife so guests can take as much or as little as they like.
Arrange crackers in a curved fan or a casual overlapping row along the edge of the platter. Keep them away from wet ingredients whenever possible. A soggy cracker can make an otherwise lovely spread feel forgotten.
Fold deli meats into ribbons, loose rosettes, or small waves instead of laying each slice flat. Group grapes in small bunches, tuck apple slices beside cheese, and scatter nuts into narrow gaps. These small details add height and make the platter feel generous without requiring more food.
Leave a little breathing room around wet dips and delicate items. A packed platter can be beautiful, but it should still be functional. Guests should be able to take a cracker without knocking over a bowl of olives or reaching across a pile of berries.
Use color with intention. A mostly beige platter of bread, cheese, and crackers benefits from green grapes, radishes, herbs, or a vivid red pepper spread. On the other hand, a bright fruit platter may look best with a neutral dip and simple white serving bowls.
Fresh herbs are a finishing touch, not a filler. A few sprigs of rosemary, basil, or thyme can make the platter smell as good as it looks, but use herbs that suit the food and avoid scattering them where guests might mistake them for garnish they need to eat. A drizzle of honey, a sprinkle of flaky salt, or a few cracked peppercorns can also add a final restaurant-style detail.
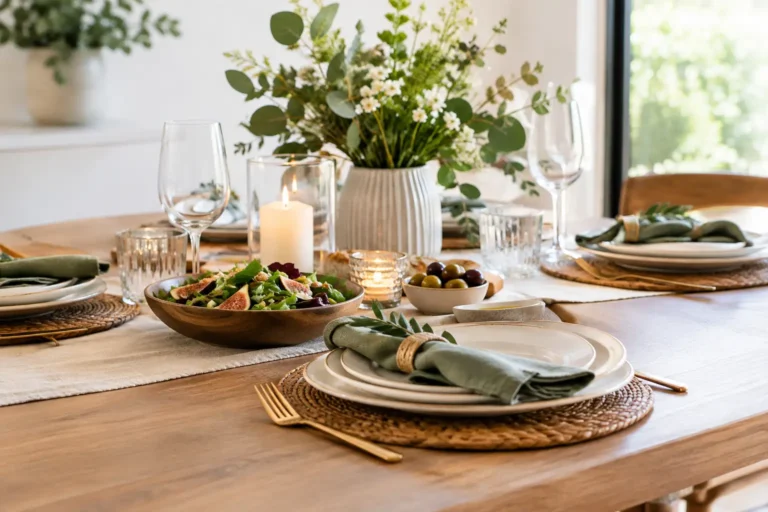
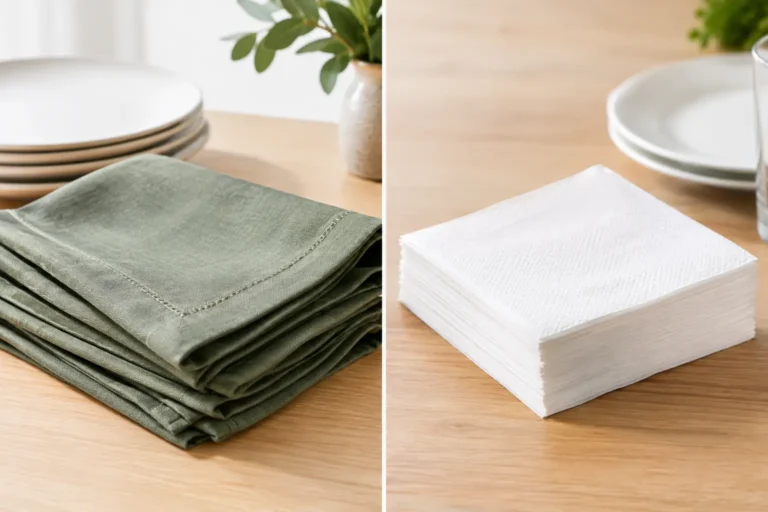
A beautiful platter needs a few supporting players. Set out small plates, napkins, and drinkware nearby so guests are not balancing food in their hands. If you are hosting a casual get-together, sturdy placemats and a simple tablecloth can quickly define the serving area and protect your surfaces from spills.
Add serving utensils where they matter most: a spoon for jams, a spreader for soft cheeses, tongs for meat or vegetables, and a small fork for pickles or olives. It may seem like a minor detail, but it keeps the platter neater and gives guests more confidence to help themselves.
Consider the flow of the room, too. Put beverages on a separate surface when possible. This leaves more room around the appetizers and makes it easier for guests to refill a drink without reaching over the food.
Most appetizer platters become stressful only when everything is left for the last 10 minutes. Do the chopping, portioning, and bowl-filling ahead of time. Cover ingredients separately and refrigerate them until you are ready to arrange the platter.
Cheese tastes better after sitting at room temperature for about 30 minutes, while cut apples, cucumbers, and berries should stay chilled until closer to serving. Add crackers, bread, and delicate herbs at the end to preserve their crunch and color. If the party runs long, refresh the platter rather than putting out every last item at once.
For relaxed entertaining, keep a small refill tray in the refrigerator with extra crackers, fruit, and savory bites. It is easier to replenish a few sections than to rebuild the entire display.
A thoughtfully arranged appetizer platter does more than feed people between meals. It gives your guests a reason to pause around the table, try a new combination, and enjoy the simple pleasure of sharing good food. With a few useful serving pieces and ingredients you genuinely like, your next spread can feel effortlessly welcoming – the kind of everyday celebration Kitchen Bay is made for.








Leave a comment